How to Create a WordPress Child Theme
There are plenty of reasons why you should start using child themes. Child themes give you chance to customize a layout on top of the existing theme. From time to time designs will release new updates and if you perform an update and making changes to core theme files will be overwritten , but child themes are separate and untouched.
A basic understanding of CSS/HTML is required. If you are good at copying and pasting codes from other sources, then that would work too. We recommend you to practice on your local development environment.
*Big shout out goes to our friends at www.webucator.com for creating this video!
Creating Child Theme
In this tutorial we will be using Twenty Fourteen, which is one of the default WordPress themes.
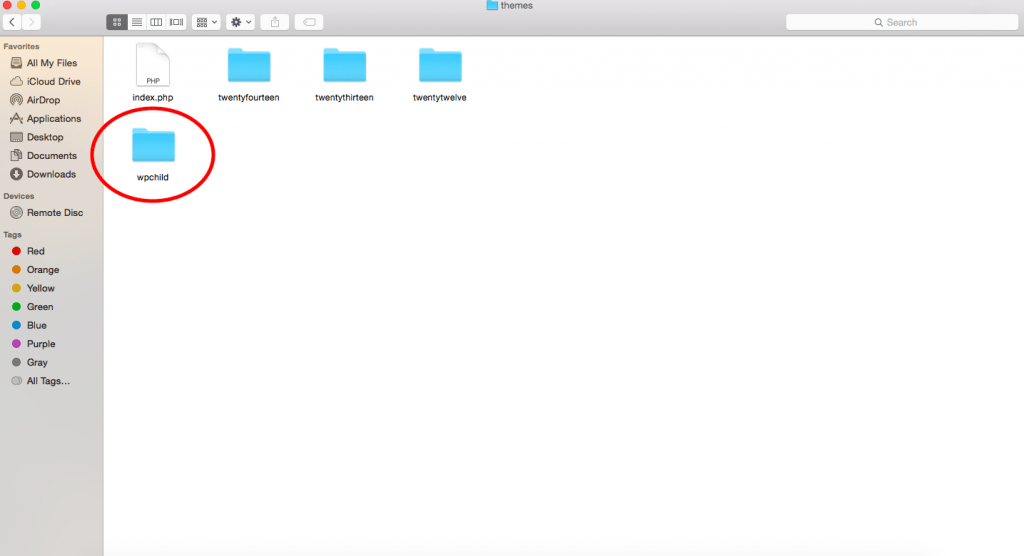
First you need to open /wp-content/themes/ in your WordPress installation folder. Then, create a new folder and name this folder anything you want. For this tutorial we will be naming it wpchild.
Now copy this code and paste it in a text editor like TextEdit (OS X) or Notepad (Windows):
[php]
<pre>/*
Theme Name: WP Child Theme
Theme URI:
Description: A Twenty Fouteen child theme
Author:
Author URI:
<pre>
Template: twentyfourteen
Version: 1.0.0
*/
@import url("../twentyfourteen/style.css");
[/php]
The most important things are the “Template:” and @import sections, which identifies the parent theme imports the CSS from the original. You must ensure that the path to your parent theme’s css file is correct, and that the “Template:” parameter correctly identifies the name of your parent theme.
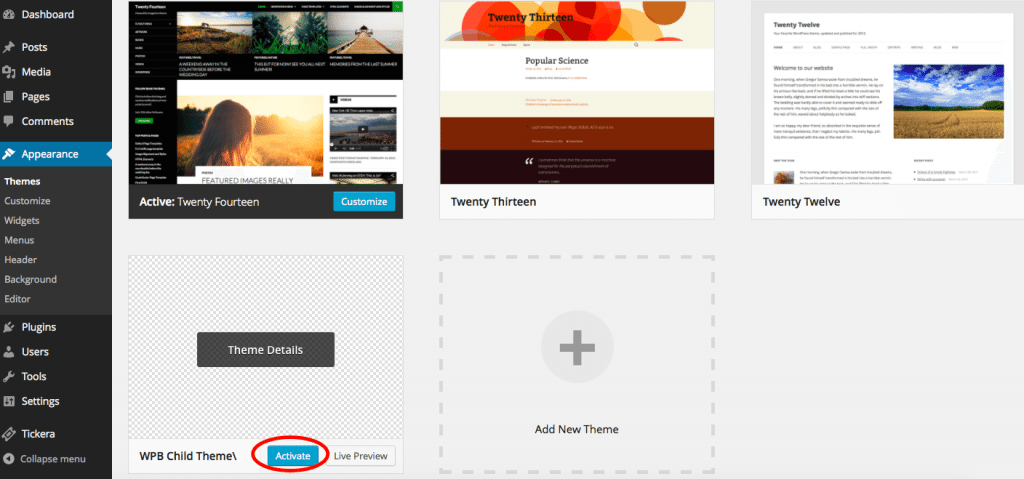
Now you can save this file as style.css in the child theme folder you just created and go to Appearance » Themes where you will see you new WP Child Theme. You need to click on activate button.
Since you haven’t changed anything in your child theme it will appearance just like its parent theme.
Customizing Your Child Theme
Once you have activated your Child Theme you can add any changes to your child theme’s CSS file below the @import line. For this section you’ll need a bit of CSS know-how.
All new CSS information is added after the original theme’s CSS is loaded because new CSS is located below the original’s in the file, all new CSS styles will overwrite the original’s. For example if we want to change navigation bar we will add the relevant CSS to our style.css file as follows:
[php]
<pre>/*
Theme Name: WP Child Theme
Theme URI:
Description: A Twenty Fouteen child theme
Author:
Author URI: http://www.localhost:8888</pre>
<pre>
Template: twentyfourteen
Version: 1.0.0
*/
@import url("../twentyfourteen/style.css");
/* =Theme customization starts here
------------------------------------------------------- */
.navbar {</pre>
<pre>background-color: #e8e5ce;
}
[/php]
Repeat the process for anything that you would like to change in your theme: .site-title, .site-header, .site-footer, etc.
Customizing The Template Files
Each WordPress theme has a different layout for example in Twenty Fourteen theme you have header, navigation menus, content loop, footer widget area, secondary widget area, and footer.
Each of these section is handled by different files in the twentyfourteen folder.
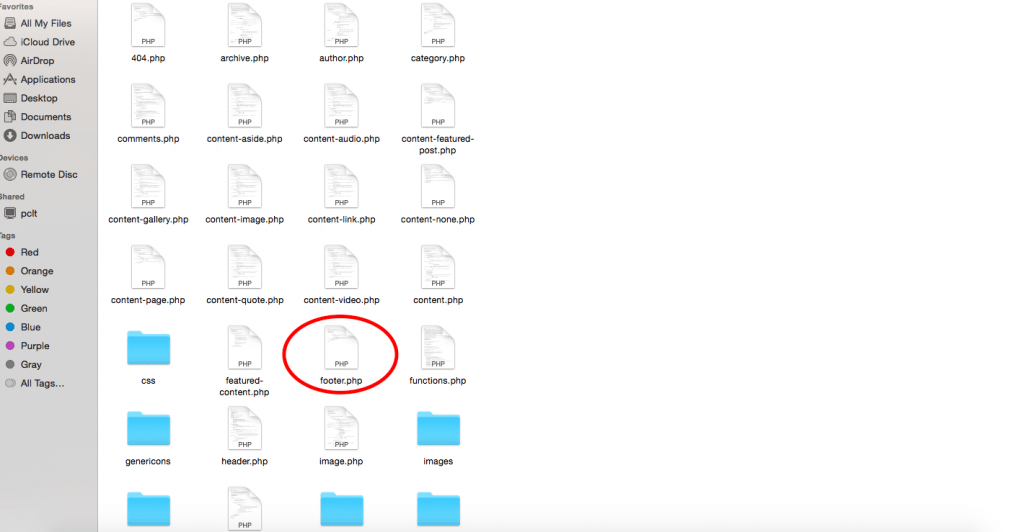
We will use footer.php file and customize it. First you need to do is select the theme file you want to modify and then copy it into your child theme.
For example, you want to remove ‘powered by WordPress’ link . Find the lines you want to remove and replace them with your own. In this code, we have replaced 'Twenty Fourteen' credits with a 'copyright notice'.
[php]
<?php
/**
* The template for displaying the footer
*
* Contains footer content and the closing of the #main and #page div elements.
*
* @package WordPress
* @subpackage Twenty_Fourteen
* @since Twenty Fourteen 1.0
*/
?>
</div><!-- #main -->
<footer id="colophon" class="site-footer" role="contentinfo">
<?php get_sidebar( 'main' ); ?>
<div class="site-info">
<p>© Copyright <?php echo date(Y); ?> <?php bloginfo('name'); ?> All rights reserved.</p>
</div><!-- .site-info -->
</footer><!-- #colophon -->
</div><!-- #page -->
<?php wp_footer(); ?>
</body>
</html>
[/php]
Adding New Functionality to Child Theme:
Adding codes into a parent theme’s functions.php file means that your changes will be overwritten whenever there is a new update for the theme. This is why it is always recommended to use a child theme .
First you have to create a new file in your child theme’s folder and name it functions.php. Your child theme’s functions.php file should start with a php opening tag and end with a php closing tag. In between, you can add your desired php code.
[php]
<?php
// Your php code goes here
?>
[/php]
Also here, in Child theme's functions.php file, you should customize Tickera plugin. So neither theme nor plugin update could overwrite your customization.


