Ticket design is easy to leave until the end. You set up the event, pricing, checkout, emails, and check-in flow — then the ticket itself becomes a last-minute detail.
But for many attendees, the ticket is the first tangible piece of the event experience. It appears in their inbox, gets opened before arrival, and sometimes becomes a small keepsake afterward. A clean, branded ticket template makes the event feel more professional before anyone reaches the door.
Short version: start with a clear visual style, keep the QR code easy to scan, place attendee and event details where people expect them, test the ticket before launch, and use the ticket template as part of your event brand.
Think of the Ticket as Part of the Event Experience
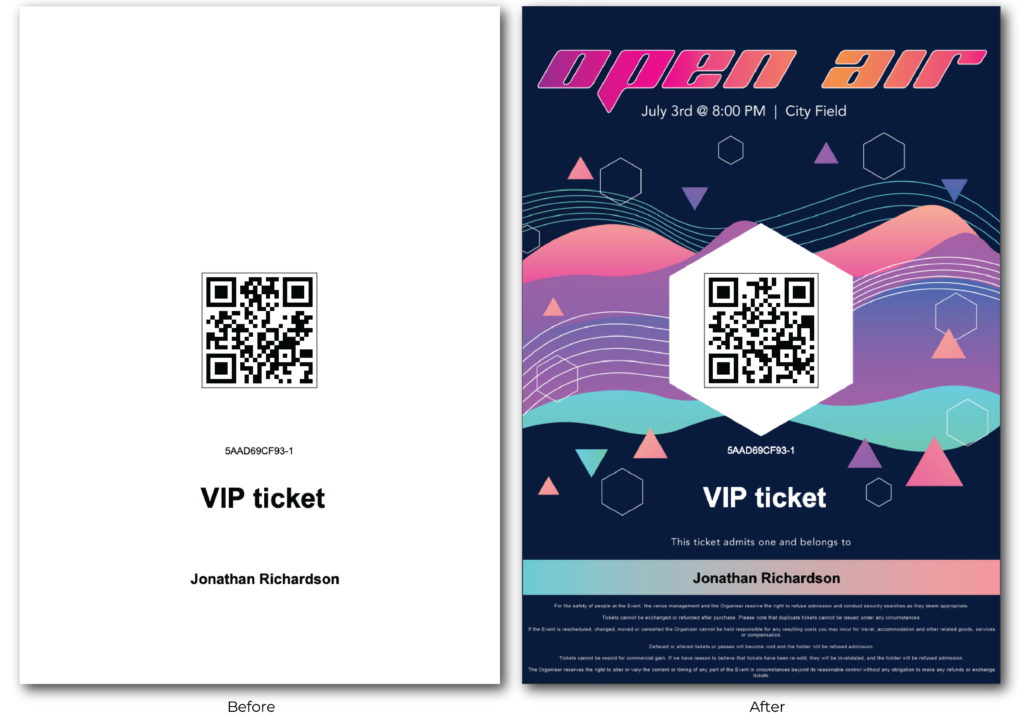
A ticket is not only a functional pass. It carries the event name, brand, date, venue, and access information. If it looks generic or cluttered, the experience feels less polished. If it looks intentional, the event feels more credible.
That does not mean every ticket needs to be a poster. Good ticket design is clear first, beautiful second. The attendee must be able to find the event details, and your staff must be able to scan or validate it quickly.
Prepare the Visual Foundation
Before opening the ticket template builder, collect the design assets you need: logo, colors, typography direction, event image or background, sponsor logos, and any required legal or venue text.
- Use a background that does not compete with text.
- Keep enough contrast for attendee and event details.
- Leave clean space for QR codes or barcodes.
- Use the same visual language as your event page and emails.
- Avoid tiny text that will be unreadable on mobile or print.
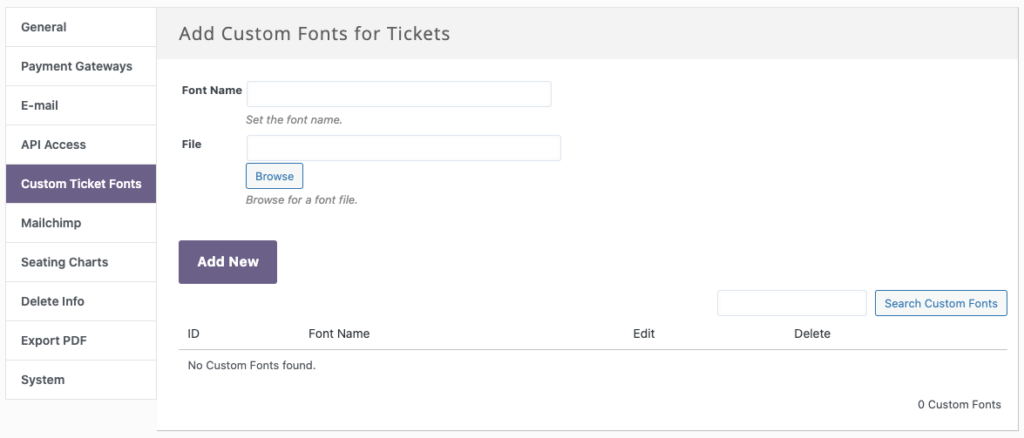
Use Tickera’s Ticket Template Builder Carefully
Tickera’s ticket template builder gives you the structure to place dynamic ticket information into a visual layout. The key is to design around the important fields instead of adding them wherever there is empty space.
| Ticket element | Design rule |
|---|---|
| Event name | Make it prominent and easy to read. |
| Date and time | Place near the event name or venue. |
| Venue | Use enough space for longer addresses. |
| QR/barcode | Keep it high contrast and unobstructed. |
| Attendee name | Make it readable for staff and the attendee. |
| Sponsor logo | Add only if it does not hurt clarity. |
Keep It Clean: Less Is More
The most common ticket design mistake is adding too much. A busy background, too many logos, small text, and decorative elements around the QR code can make the ticket harder to use.
If you want the ticket to feel premium, use spacing, alignment, contrast, and a clear hierarchy. A simple design often looks better than a crowded one.
Make a Test Order Before Launch
Never assume the ticket looks right just because it looks good in the editor. Create a test order, open the ticket email or PDF, and review the real output on desktop and mobile.
- Is the QR code easy to scan?
- Are event name, date, time, and venue readable?
- Does the ticket still work if printed in black and white?
- Does long attendee data break the layout?
- Do sponsor logos and background images display correctly?
Use Ticket Design for Sponsorship and Upsells
A polished ticket can also create extra value. Some organizers use special designs for VIP tickets, limited edition access, sponsor placements, or collectible event passes.
Just keep the main rule: monetization should never make the ticket harder to use. If a sponsor logo interferes with scanning or readability, the design has gone too far.
Ticket Template Checklist
- Collect logo, colors, background, and required text.
- Design around the QR code or barcode first.
- Make event name, date, time, and venue easy to scan visually.
- Keep enough contrast for mobile and print.
- Create a test order before sales go live.
- Scan the ticket with your check-in tool.
- Save a reusable template for future events.
Frequently Asked Questions
Can I use a custom background image on a Tickera ticket?
Yes. A custom background can make the ticket feel more branded, but it should not reduce text readability or interfere with QR code scanning.
What is the most important part of ticket design?
Clarity. The attendee and check-in staff must quickly identify the event, date, venue, ticket type, and scannable code.
Should I test ticket templates before selling tickets?
Yes. Always create a test order and scan the resulting ticket before launching sales or sending tickets to real attendees.
Final Thoughts
A better ticket template improves both perception and operations. It makes the event feel more professional, helps attendees find information faster, and gives your check-in team a cleaner ticket to scan.
Design it like a small but important part of the event experience — because that is exactly what it is.