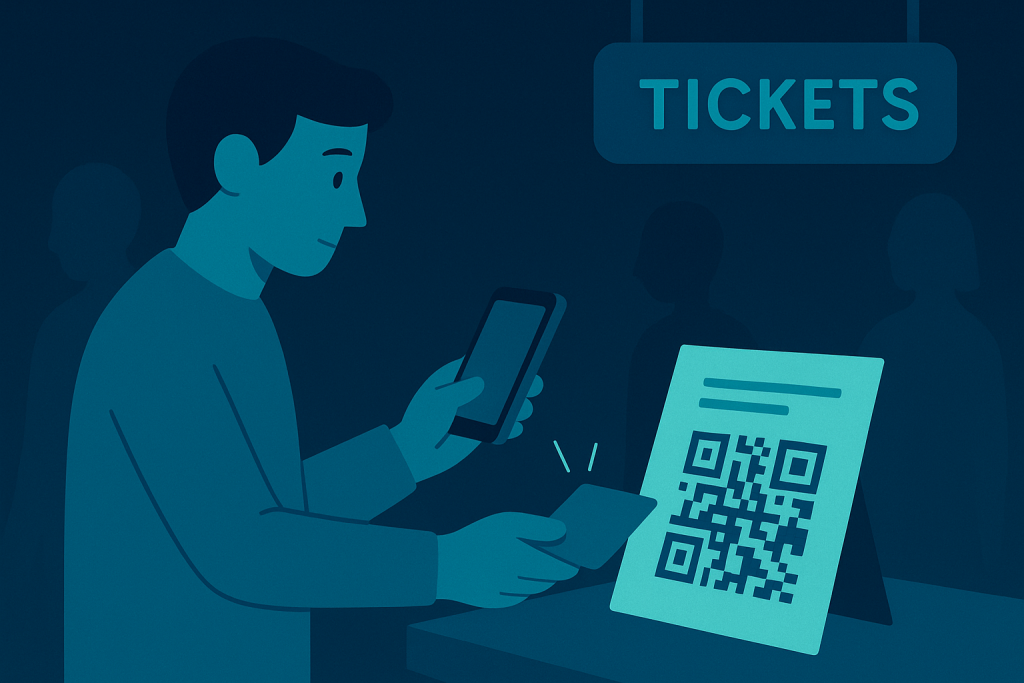
Ticket Check-in at the Door: What do you Need to Know?
Doors are open, lights are on, staff is ready, and the crowd is gathering. The only thing between your attendees and the event itself is the is the moment of ticket check-in at the door. Over the years, we’ve seen everything at the entrance point: perfectly smooth check-ins, heroic last-minute improvisations, and situations that could best be described as controlled chaos. Most of those moments had one thing in common: scanning conditions.
The Checkinera app for iOS and Android is designed to make the process as fast as possible. It communicates directly with your website, validates tickets in real time, and supports scanning with the built-in camera. It can also work with standard handheld barcode or 2D scanners, connected by cable or wirelessly, giving you the flexibility to create the workflow that suits your event.
Still, depending on the environment, there are things that can slow scanning down. Understanding them ahead of time will make everything far more predictable on event day.
The camera is your scanner
When using the mobile app, the phone’s camera does all the heavy lifting. This works great with iPhones because the camera hardware across models is predictable. Android devices, however, are a completely different universe. There are thousands of different models with wildly different camera sensors. Even if Checkinera runs perfectly on all of them, the focusing speed depends entirely on the quality of the camera.
Budget devices often have cameras that struggle with fast focus, especially on close-up targets like a printed QR code. That can cause hesitation or even failure to scan. High-end Android models handle this much better, but even the best phone camera cannot overcome the biggest enemy of all scanning scenarios: poor lighting.
Scanning a ticket is basically taking a photo. If the lighting is bad, the camera needs more time to adjust and focus. That single extra second multiplied over a line of hundreds becomes a very visible slowdown.
Test check-in in real conditions, not in your office
Most people test scanning in perfect conditions: office, bright lighting, calm environment, no pressure. That is not what ticket check-in at the door looks like.
The best way to test your check-in setup is to visit the venue, print test tickets, and use the actual devices you plan to have at the entrance. Try scanning in dim corners, and experiment with angles and distance to find the sweet spot where scanning is fastest. If light is the culprit, even a cheap desk lamp placed near the entrance can transform the experience.
Once you’ve tested in real conditions, you won’t be surprised when the doors open.
Size matters more than you think
Sometimes tickets are designed like miniature art galleries. Sponsor logos, fonts, long terms & conditions, images, decorative banners… and somewhere in the bottom corner: a QR code the size of a postage stamp. If you’d like inspiration on designing a clean and optimized ticket layout, check out our guide on creating a neatly looking ticket template here. Once you find the smallest reliable QR size, increase it just a little. That small margin can save you a lot of frustration later.
Small QR codes can become nearly unreadable in low light or on a shaky phone camera. Before finalizing the template, print a sample ticket and scan it with the exact device being used at the doors. Once you find the smallest reliable QR size, increase it just a little. That small margin can save you a lot of frustration later.
Tickera supports multi-page ticket templates, so you don’t need to cram everything onto a single page. If terms and conditions need space, move them to page two. The only thing that must effortlessly scan is the code.
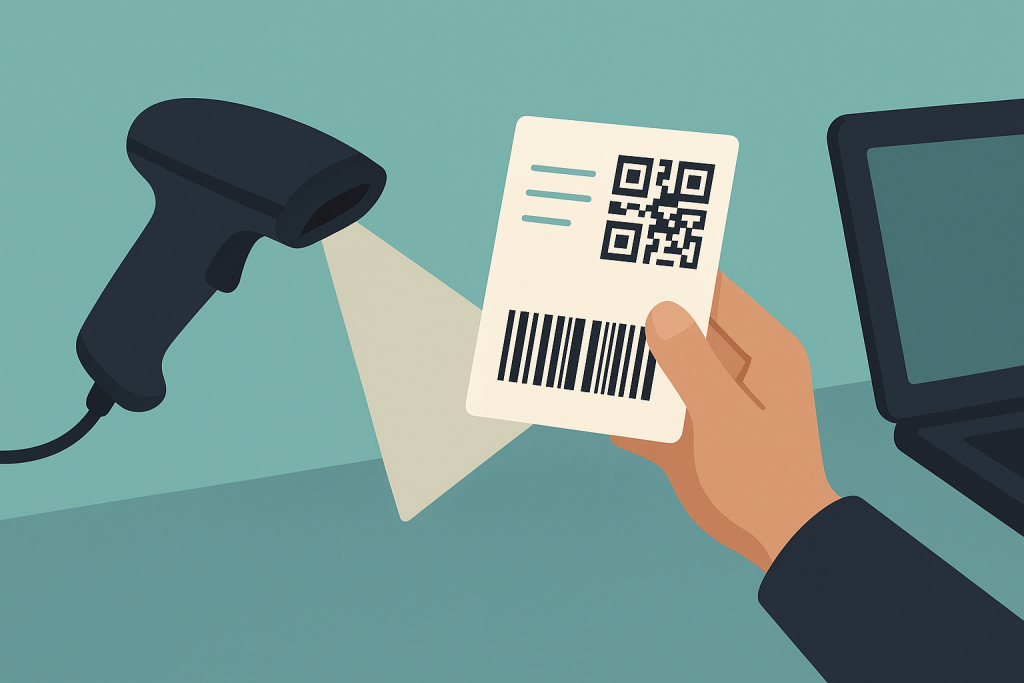
If in doubt, include both code types
Sometimes event plans change. Ticket limits increase, check-in flow changes, or you decide you want scanning with handheld barcode scanners at the last moment. If your ticket includes only a QR code, you will need a scanner that can read QR codes. Those are usually more expensive.
If you include both a QR code and a standard barcode, you can choose how to scan on event day. Use the Checkinera mobile app and the camera, or use a handheld barcode scanner with the Checkinera web app, or even a handheld scanner connected to the mobile app. Tickera places no limit on how many devices can check tickets simultaneously, so you can mix and match check-in methods freely.
Think of it as future-proofing your entrance flow.
Reduce line pressure by multiplying check-in points
The easiest way to speed up check-in is not to scan faster, but to scan in more places at the same time. If the venue has only one entrance, place multiple check-in devices or multiple staff members at that point. The fewer people per scanning point, the smoother the entire process feels.
Nobody remembers an event for its perfect QR codes, but everyone remembers waiting in line.
For more in-depth tips on layout, device distribution, and staff workflow, check out our guide on how to maximize efficiency of Checkinera. That post covers not just the hardware side, but how to structure multiple gates, sync devices and simplify the entire entrance flow.
Wrap-up
There are many ways to make check-in smooth and stress-free. Test in real lighting, make your QR large enough, consider having both a barcode and QR on the ticket, and don’t hesitate to add more scanning points if you can. A bit of preparation before the event can save a lot of headaches at the door and make your attendees happy before they even step inside. The smoother the ticket check-in at the door, the happier everyone is once they’re inside.